In my last post, I introduced Sass (Syntactically Awesome Stylesheets) and getting Sass set up on your machine by installing Ruby, installing Sass, watching a file and compiling via Terminal.
Now, we will look at a much simpler way to get set up with Sass. CodeKit. I’ll be upfront, I’m a user of CodeKit and I recommend the software to any web developer who works in Sass, LESS, Compass, JavaScript, or any other web language, however neither I nor Developer Drive has any relationship (personal or financial) with CodeKit, and my post does not necessarily signify an endorsement by Developer Drive for CodeKit.
That being said, let’s learn a little bit about it and how to get it set up.
Download CodeKit
To get started, first download CodeKit. It is a commercial product ($25), but you can download a fully functional trial version which is good for ten days.
Once downloaded, fire up CodeKit and you’re greeted by a friendly, but blank app screen.
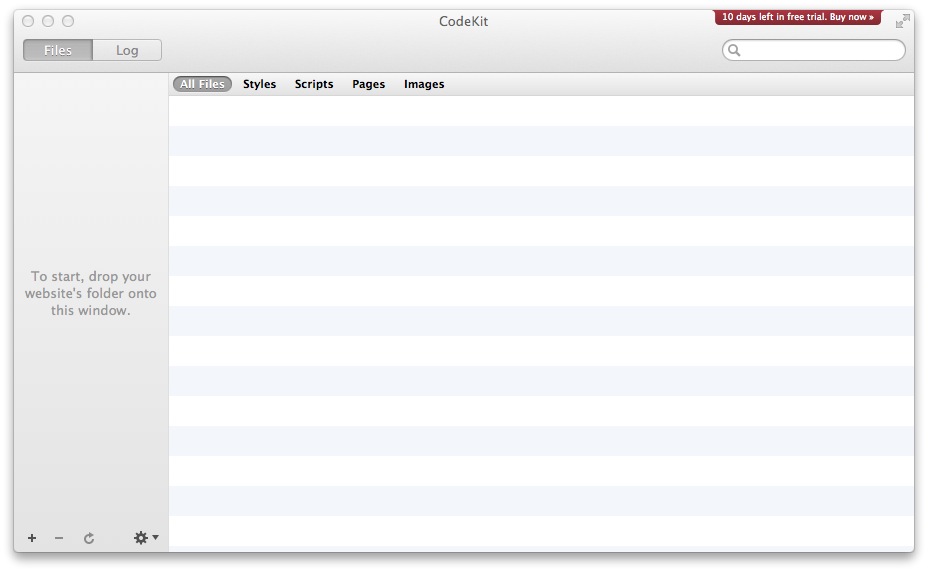 To start, either drag your project folder (wherever you’re storing your Sass or where you plan to store your Sass) to the window or click the small plus (+) sign in the and locate the folder in the browser window that comes up.
CodeKit will automatically detect all of your Sass files in your folder (as well as all of your other files). It can also automatically detect which files should be compiled to CSS files based on the contents of the Sass. If you have a style.scss file that imports other Sass files. Once you open one of your Sass files that is being watched by CodeKit, it’ll automatically compile to CSS whenever you save. [Additionally, and pretty sweet(ly), CodeKit has an auto refresh feature where you can see your code deploy live in the browser without having to go click refresh everytime.]
Writing your first Sass
The standard extension for the latest version of Sass is .scss (this is as of Sass 3). The .scss extension is completely valid CSS (just like LESS is), so you can write standard CSS while mixing in your own Sass as well. Fire up your code editor and let’s write some Sass (I useCoda 2 which has a default color profile for .scss syntax and it comes in handy).
The code shows some variables and a paragraph declaration. Don’t worry about the syntax now as we’ll cover variables, mixins, nesting, selector inheritance and much more in later posts. For now, we’re still focusing on getting Sass to work with .scss files and the Terminal.
/* Sample Sass */
$blue:		#00214D;
$font-size:	16px;

p {
  color: $blue;
  font-size: $font-size;
}
Once you save this Sass, CodeKit will automatically detect it, create a corresponding CSS file in a CSS folder in the project folder you’re using.
Pretty awesome, right?
So next up, we’re going to go in-depth into nesting with Sass. In my opinion, the nesting functionality is easier and more powerful than nesting in LESS, although they share the same basic principals.