In my last tutorial we created a shortcode for displaying recent Tweets using the Twitter API and OAuth2.0. Having thought about it a bit more, I think that it would be quite handy to have it as a widget as well. It’s actually very easy to turn any shortcode in to a widget, and this logic could be used for lots of different shortcodes.
Getting Started
First up, we’ll need to grab the source code from the previous tutorial. Underneath our previous class we’re going to get the sample class from the WordPress codex
class Twitter_Widget extends WP_Widget {
    public function __construct() {
        // widget actual processes
    }

    public function widget( $args, $instance ) {
        // outputs the content of the widget
    }

     public function form( $instance ) {
        // outputs the options form on admin
    }

    public function update( $new_instance, $old_instance ) {
        // processes widget options to be saved
    }
}
The code WordPress provide to actually register the widget doesn’t actually work, so instead we’re going to use the following snippet
function twitter_widgets_init(){
    register_widget( 'Twitter_Widget' );
}
add_action( 'widgets_init', 'twitter_widgets_init' );
Now that we have our basic class, lets start adding our own code to it. As you can see our class ‘Twitter_Widget’ extends the WordPress class WP_Widget. Extends is the keyword in PHP to define that one class inherits from another. This tells us that we have to call the WP_Widget constructor from within our own __construct method. The WordPress comments (lines 80 to 92) tell us exactly what parameters we need to specify and what they are used for. Our __construct method ends up looking like this.
public function __construct() {
    parent::__construct(
        'twitter_widget',
        'Twitter Widget',
        array( 'description' => 'A Widget for displaying recent tweets' )
    );
}
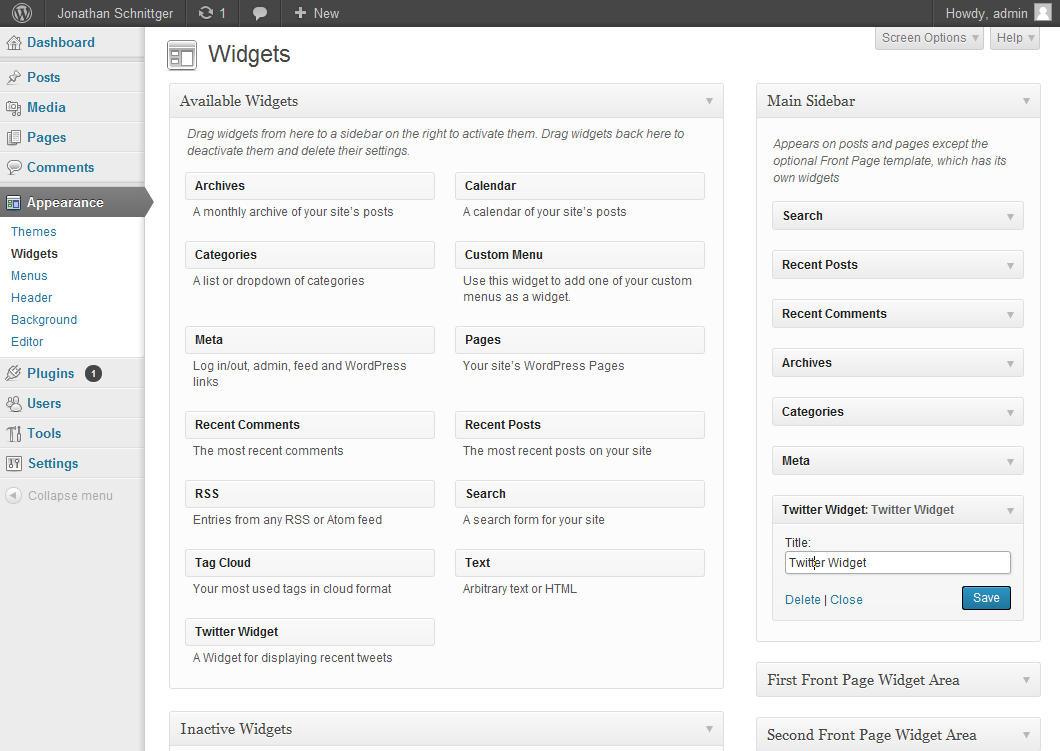
Configuring our widget
To actually configure our widget (in this case just the title) we will need to provide a form to enter in the title and a way of saving it. To do this we use the ‘update’ and ‘form’ methods.
The WP_Widget class provides us with a method called get_field_id, it is used to get the DOM element id that we should be using for the input form elements.
public function update( $new_instance, $old_instance ) {
    $instance = array();
    $instance['title'] = strip_tags( $new_instance['title'] );
    return $instance;
}

public function form( $instance ) {
    if ( isset( $instance[ 'title' ] ) ) {
        $title = $instance[ 'title' ];
    }
    else {
        $title = 'New title';
    }
    ?>
    <p>
    <label for="<?php echo $this->get_field_id( 'title' ); ?>"><?php _e( 'Title:' ); ?></label>
    <input class="widefat" id="<?php echo $this->get_field_id( 'title' ); ?>" name="<?php echo $this->get_field_name( 'title' ); ?>" type="text" value="<?php echo esc_attr( $title ); ?>" />
    </p>
    <?php
}
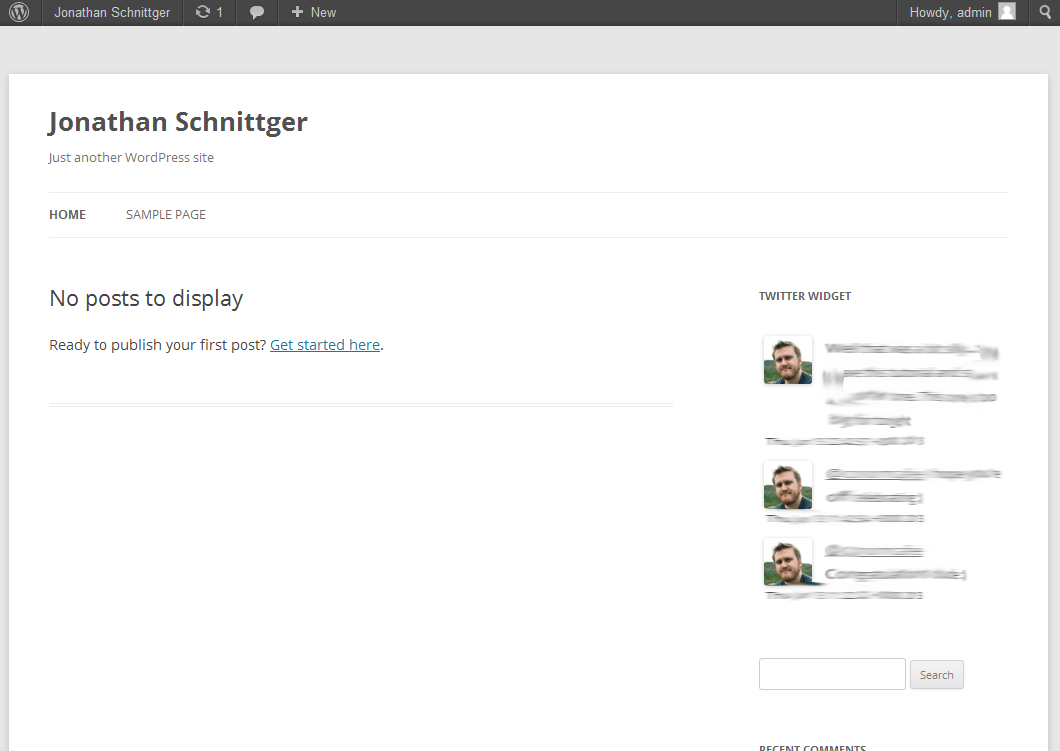
Rendering the widget
Actually getting the widget to appear is quite simple, all we do pull apart any configuration values we want from the $instance variable, in this case the title and output our own HTML. There are two variables that are of use to us here, the $before_widget and $after_widget variables. They are passed in as part of the $args variable and relate to the wrapper HTML that can be configured for a sidebar. To actually render our widget we once again turn to the do_shortcode method. This time we want to change the default configuration such as only show the last 3 tweets, so we define them as attributes on the shortcode.
public function widget( $args, $instance ) {
    extract( $args );
    $title = apply_filters( 'widget_title', $instance['title'] );
    echo $before_widget;
    ?>
    <div class='twitter-widget'>
        <h3 class='widget-title'><?php echo $title ?></h3>
        <?php echo do_shortcode('[tweets count="3" exclude_replies="0" include_rts="1"]'); ?>
    </div>
    <?php
    echo $after_widget;
}
Other uses
As I mentioned at the beginning, you could use this on other shortcodes, simply change the name of the widget and the shortcode. You could for example use the WordPress shortcode [ gallery]
As always, the full source code is available below. If you have any questions, please feel free to comment
