I recently completed a seven part series on Learning LESS, and we had a lot of commenters who requested a similar series on Sass (Syntactically Awesome Stylesheets). While there is a lot of discussion out there as to whether or not LESS or Sass is better, both have their place, both accomplish the same overall goal, and both can make your life (and your coding) much simpler and easier.
What is Sass?
Sass, which stands for Syntactically Awesome Stylesheets, is a “meta-language on top of CSS that’s used to describe the style of a document cleanly and structurally, with more power than flat CSS allows. Sass both provides a simpler, more elegant syntax for CSS and implements various features that are useful for creating manageable stylesheets” (from sass-lang.com).
There are several different ways to harness the true power of Sass, and I’ll do my best to cover each method. But basically, it’s commonly thought that Sass is a server side compiled language using Ruby (as opposed to LESS, which is a JavaScript library and thus compiled client side). Sass can however be compiled locally and then uploaded to your server or your website via FTP just as you would any other CSS stylesheet. Many people use CodeKit for this compiling, and we’ll cover that in a later post.
Installing Sass
Sass runs on Ruby. If you’re using Mac OS X, you already have Ruby installed (lucky you!). If you are on a Windows machine, you can install it using the Windows Installer. I’ll proceed with this tutorial as if you’re running Mac OS X.
First, fire up Terminal. If this little black box scares you, don’t worry. I was always very intimidated by working in the Terminal, but after following some tutorials, working with Ruby and Git, you get to be more comfortable.
[WARNING: Working in the Terminal gives you access to seriously mess up your computer. Be cautious about command lines you run in the Terminal.]
The first command you’ll want to type into the command line is to check and see what version of Ruby you’re running. To check, run this command
ruby -vOnce you click enter, the Terminal should tell you which version of Ruby you are running. If you see something like this, you’re ready to rock with Sass.
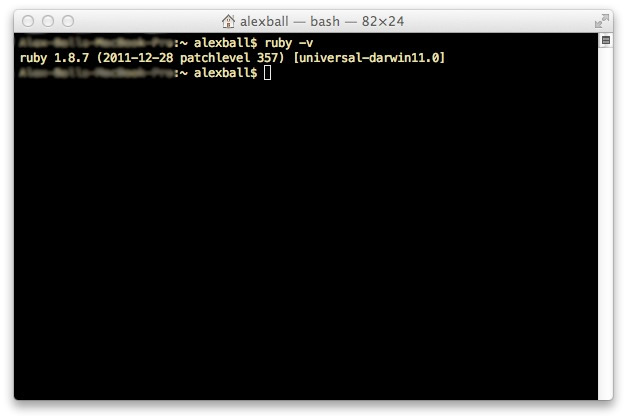 As you can see, as of this post, my version of Ruby is 1.8.7, which will work just fine for Sass. Now that we know we have Ruby, let’s install Sass.
You can install Sass by running this command
gem install sassClick enter and the Sass install will begin. This process will take just a minute or two.
[Having trouble? If you got an error message saying you don’t have privledges to write to the Ruby directory, you’ll have to install Sass with the sudo command. Simply type sudo gem install sass and it should work for you.]
If all things go successfully, you should see this message.
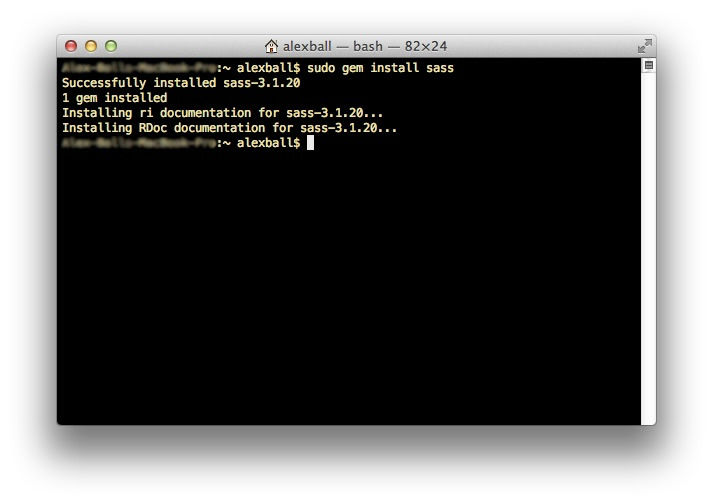 And that’s it! Sass is now installed on your computer and you’re ready to start writing some Syntactically Awesome Stylesheets. Can we also pause a minute to just look at how awesome of a word ‘syntactically’ is? Just rolls off the tongue.
Writing your first Sass
The standard extension for the latest version of Sass is .scss (this is as of Sass 3). The .scss extension is completely valid CSS (just like LESS is), so you can write standard CSS while mixing in your own Sass as well. Fire up your code editor and let’s write some Sass (I use Coda 2 which has a default color profile for .scss syntax and it comes in handy).
The code shows some variables and a paragraph declaration. Don’t worry about the syntax now as we’ll cover variables, mixins, nesting, selector inheritance and much more in later posts. For now, we’re still focusing on getting Sass to work with .scss files and the Terminal.
/* Sample Sass */
$blue:		#00214D;
$font-size:	16px;

p {
	color: $blue;
	font-size: $font-size;
}
Looks pretty simple so far, right? Now let’s jump back into the Terminal and get Sass to watch the file. Make sure you’re in the same directory as the file you just saved (I saved mine to my Desktop). To check and see what folder you are in, simply type
lsin the command line and it will list all of your files and folders.
To change directories, simply type
cdand then begin typing your location and press tab. Terminal will auto finish the folder. Run the command, then type
lsagain to confirm you’re in the correct directory.
Once you’re in the same directory as the .scss file you just created, we’ll tell Sass to watch the file and to translate it into a .css file. Once Sass is watching the file, any changes you make to the .scss file will automatically be updated in the .css stylesheet. The command for getting Sass to watch the file is
sass --watch sample-sass.scss:sample-sass.cssSass will then tell you that it is watching for changes and automatically create a CSS file in the same location as your .scss file.
What’s Next?
Now you’re up and running with Sass, you can start writing some sassy code. In future articles, I’ll walk you through the syntax and the thought process behind planning out your code to be extremely efficient, and also showcase CodeKit (which replaces the need to work in the Terminal) when using Sass. We will also dive into Compass as well.
Have questions? Leave them in the comments below and I’ll answer them! Thanks for reading.